The Ultimate Guide to Pumpkin Carving at The Secret Farm
Pumpkin carving is a beloved autumn tradition that brings creativity, fun, and a festive touch to the season. Whether you’re a seasoned carver or a beginner trying your hand at creating a jack-o’-lantern for the first time, The Secret Farm has all the tips and inspiration you need to make your pumpkin carving experience a success.
1. Choosing the Perfect Pumpkin
The first step to a great carving is selecting the right pumpkin. Here are some tips to keep in mind:
- Size and Shape: Depending on your design, you may want a tall, round, or uniquely shaped pumpkin. Larger pumpkins offer more surface area for intricate designs.
- Firmness: Choose a pumpkin with a firm, even surface that feels heavy for its size. Avoid pumpkins with soft spots, as these can indicate rot.
- Stem: A sturdy stem not only adds to the aesthetic but also makes handling easier during carving.
2. Essential Tools for Pumpkin Carving
While you can carve a pumpkin with just a basic knife, having the right tools can make the job easier and more enjoyable:
- Serrated Knife or Pumpkin Saw: For cutting out the top and large sections.
- Scoop or Scraper: To remove the seeds and pulp efficiently.
- Small Paring Knife: For intricate details and fine lines.
- Pumpkin Carving Kit: These often include a variety of tools specifically designed for different aspects of carving.
3. Carving Techniques and Tips
Once you have your tools and pumpkin ready, follow these steps to create your masterpiece:
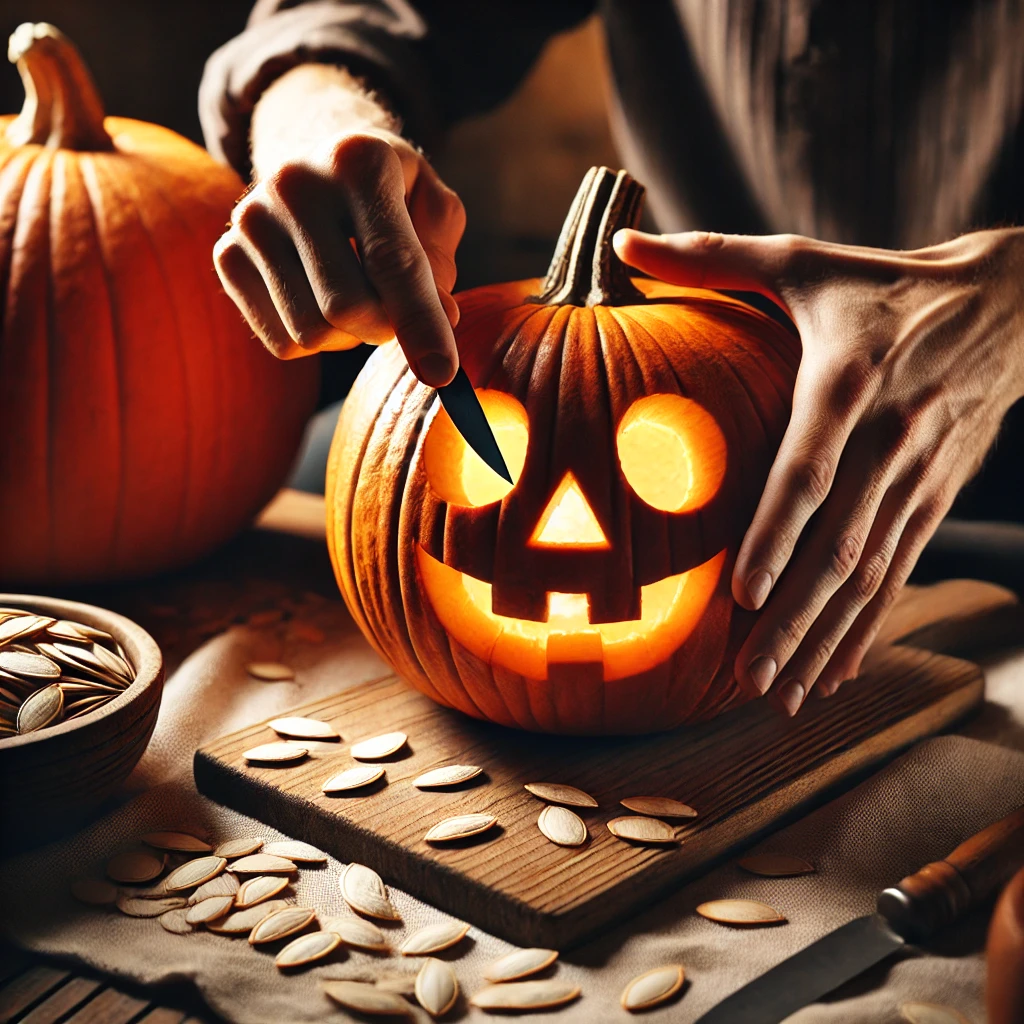
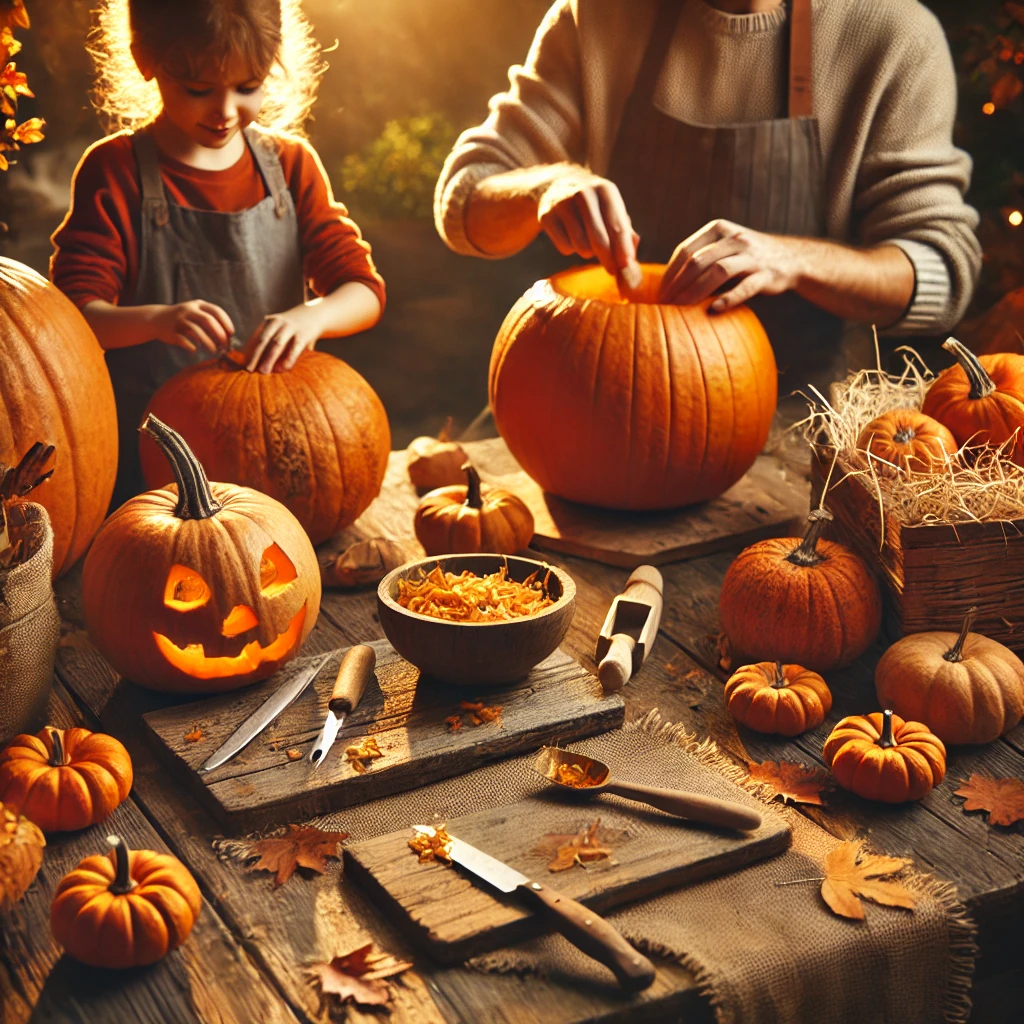
- Step 1: Prep the Pumpkin: Start by cutting off the top or bottom of the pumpkin at an angle to prevent the lid from falling in. Scoop out the seeds and pulp until the walls are about an inch thick.
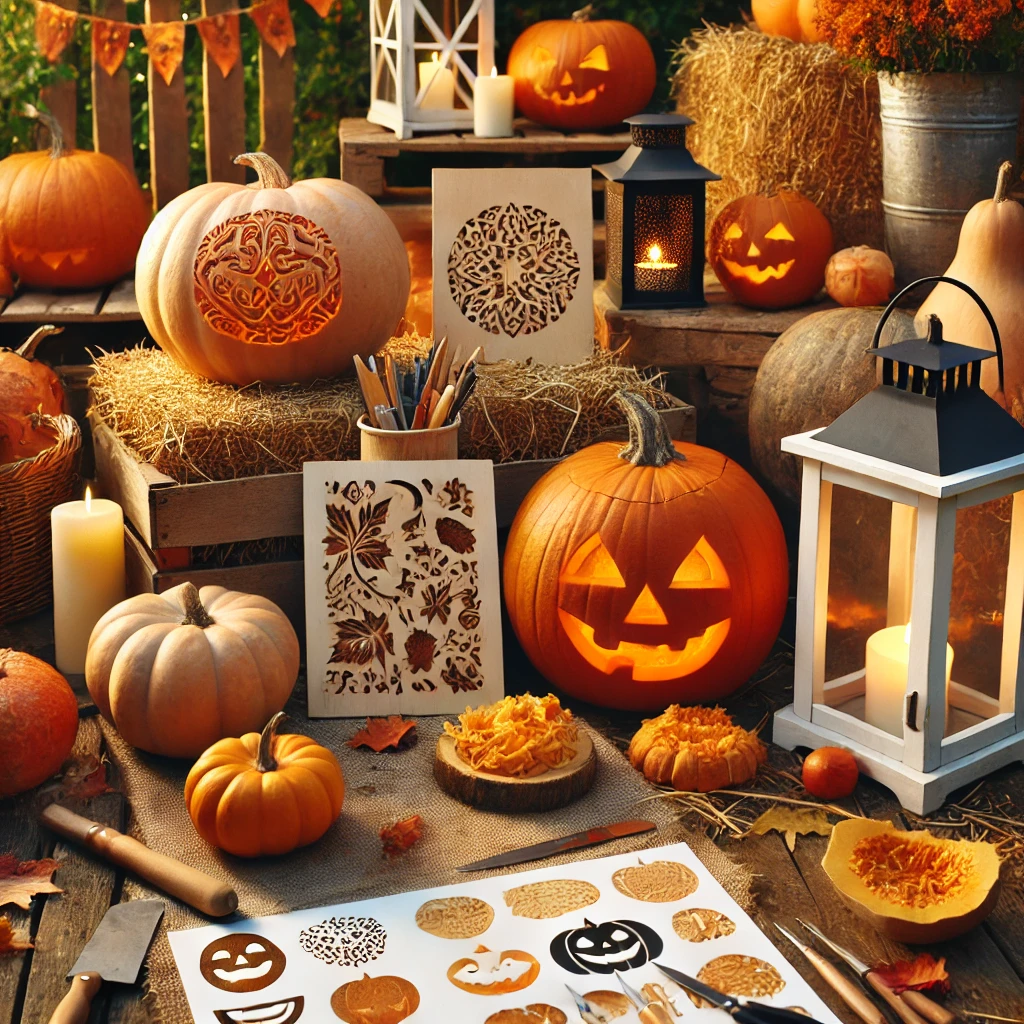
- Step 2: Plan Your Design: Draw your design on paper first or use a stencil. Tape the stencil to your pumpkin, or draw directly on the surface with a washable marker.
- Step 3: Start Carving: Begin with the larger areas and work your way to the smaller details. Hold the pumpkin firmly and carve slowly, using gentle pressure.
- Step 4: Illuminate: Once you’re done carving, place a candle or LED light inside your pumpkin. If using a candle, consider cutting a vent hole at the back to allow heat to escape.
4. Creative Pumpkin Carving Ideas
Looking for inspiration? Here are some creative themes to try:
- Classic Faces: Traditional jack-o’-lantern faces are always a hit. Mix up expressions—happy, spooky, or surprised—for variety.
- Patterns and Silhouettes: Use stencils or freehand patterns like stars, moons, or leaves for a decorative approach.
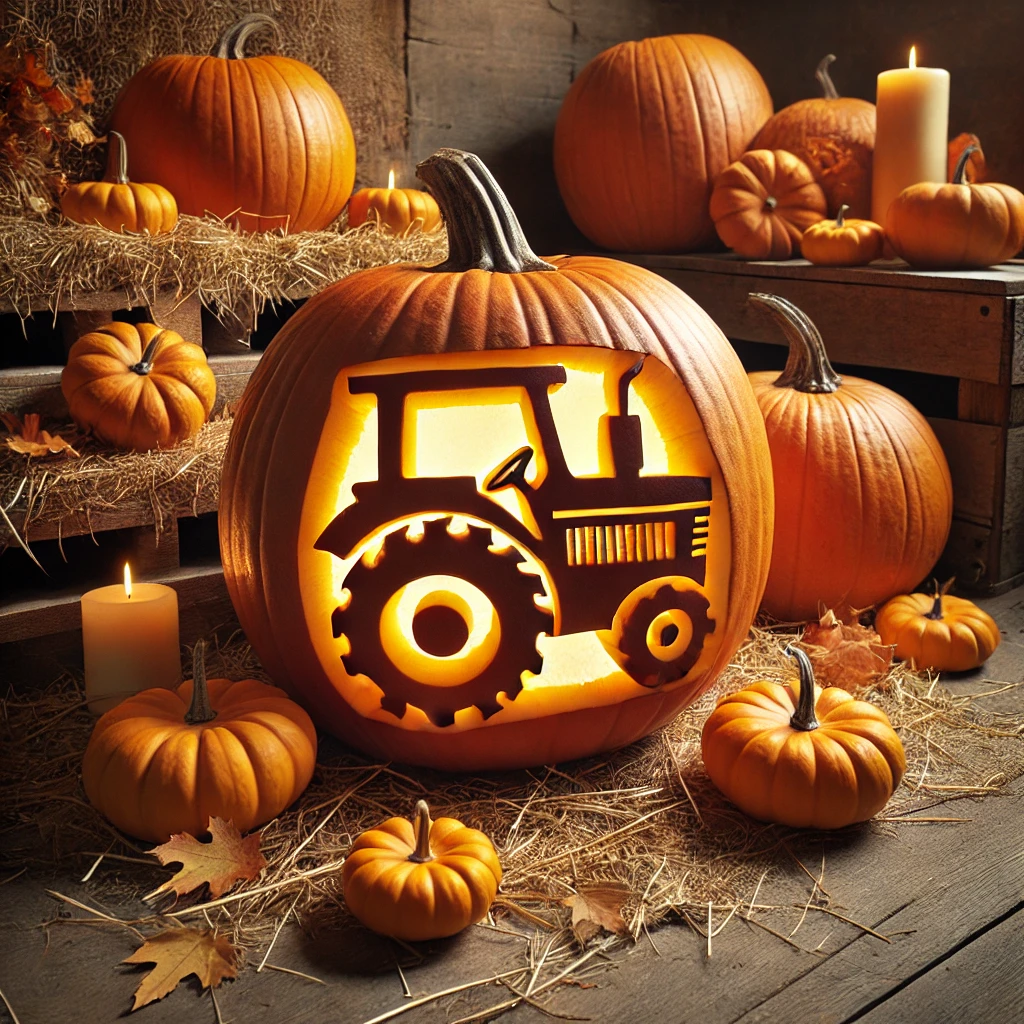
- Themed Carvings: Celebrate with pumpkins that feature your favorite characters, animals, or even logos like The Secret Farm’s tractor design!
- 3D Carving: For the more advanced, try carving in relief to create a three-dimensional effect, where parts of the design are raised from the pumpkin surface.
5. Pumpkin Preservation Tips
To keep your carved pumpkin looking fresh, follow these tips:
- Seal and Protect: Rub petroleum jelly or vegetable oil on the cut edges to help retain moisture.
- Cool Storage: When not on display, keep your pumpkin in a cool, dry place.
- Hydrate: If your pumpkin starts to shrivel, soak it in cold water for a few hours to revive it.
6. Safety First
Always prioritize safety while carving:
- Supervise Children: If kids are involved, make sure they use child-safe tools and always carve under adult supervision.
- Use the Right Tools: Avoid using overly sharp knives that can slip; opt for pumpkin carving kits that are designed to be safer and easier to handle.
Join the Fun at The Secret Farm
Pumpkin carving is a wonderful way to celebrate the fall season and unleash your creativity. Whether you’re crafting a spooky jack-o’-lantern or a detailed work of art, the joy of transforming a simple pumpkin into a glowing masterpiece is a rewarding experience for all ages. Visit The Secret Farm to pick your perfect pumpkin, gather your carving supplies, and get started on your next autumn tradition!
